TorGuard

Here are the required steps we need to take in order to get a WireGuard conf file with port forwarding enabled.
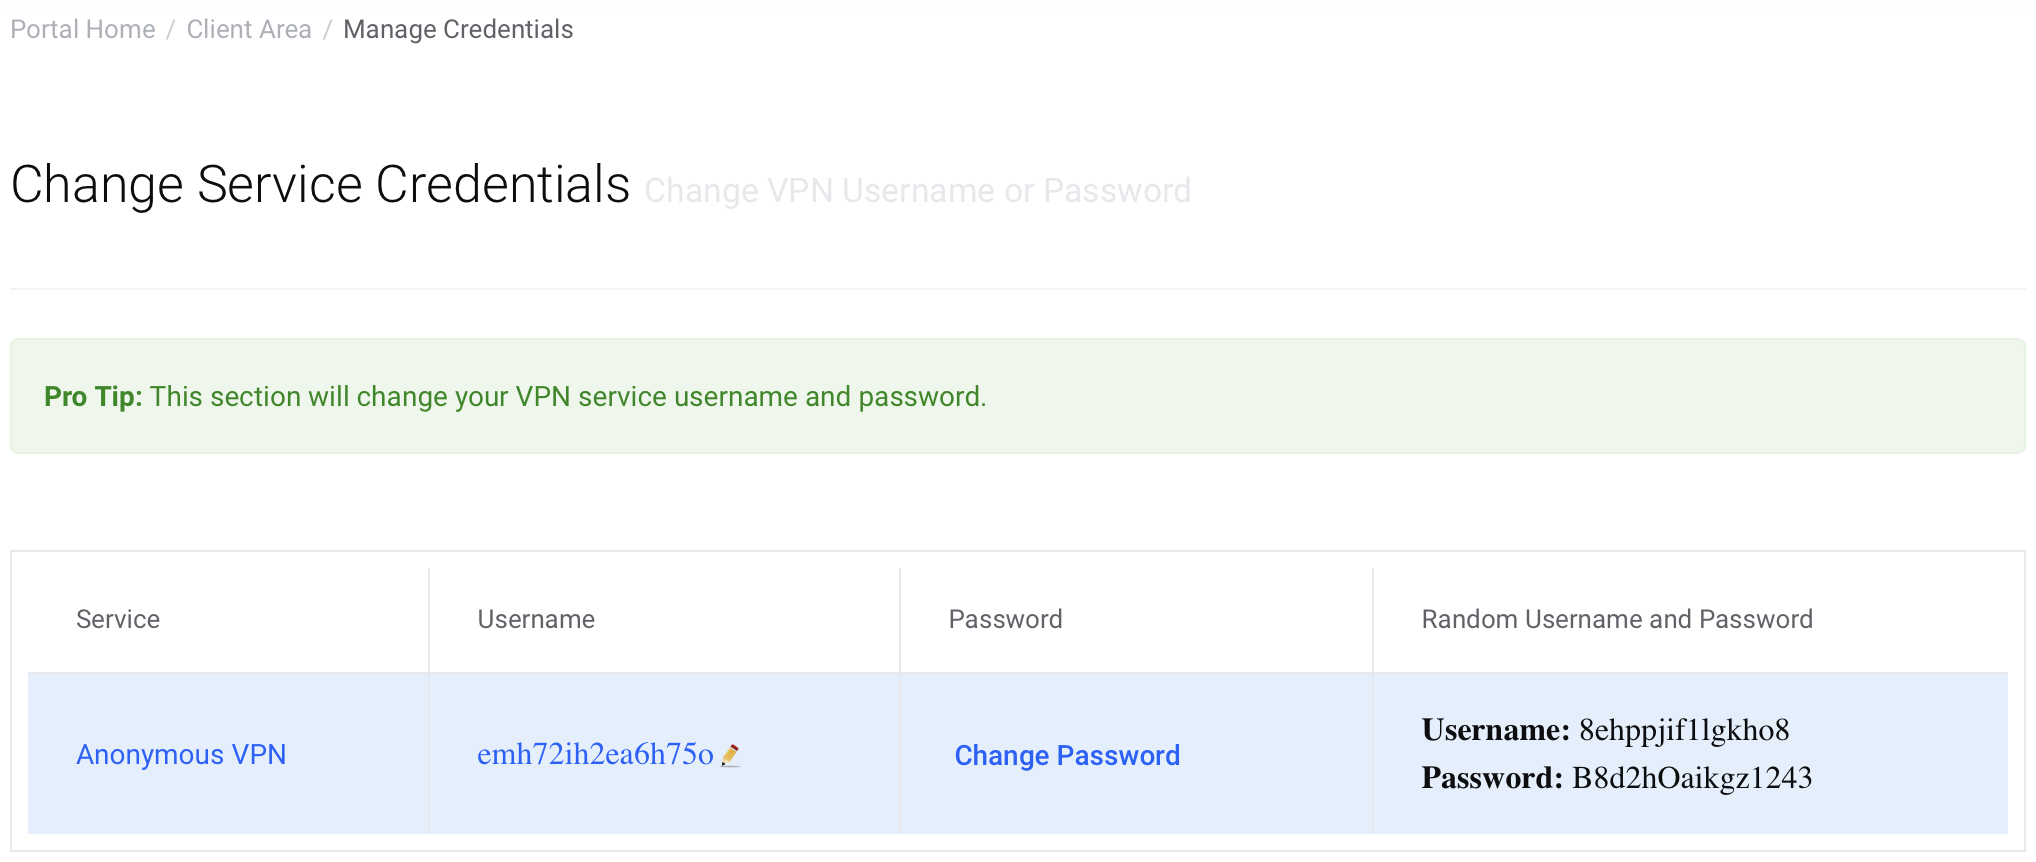
Changing Service Credentials
First we're going to change the default credentials under Manage Credentials. This step is optional though if you've already done it or wish to keep using the defaults.
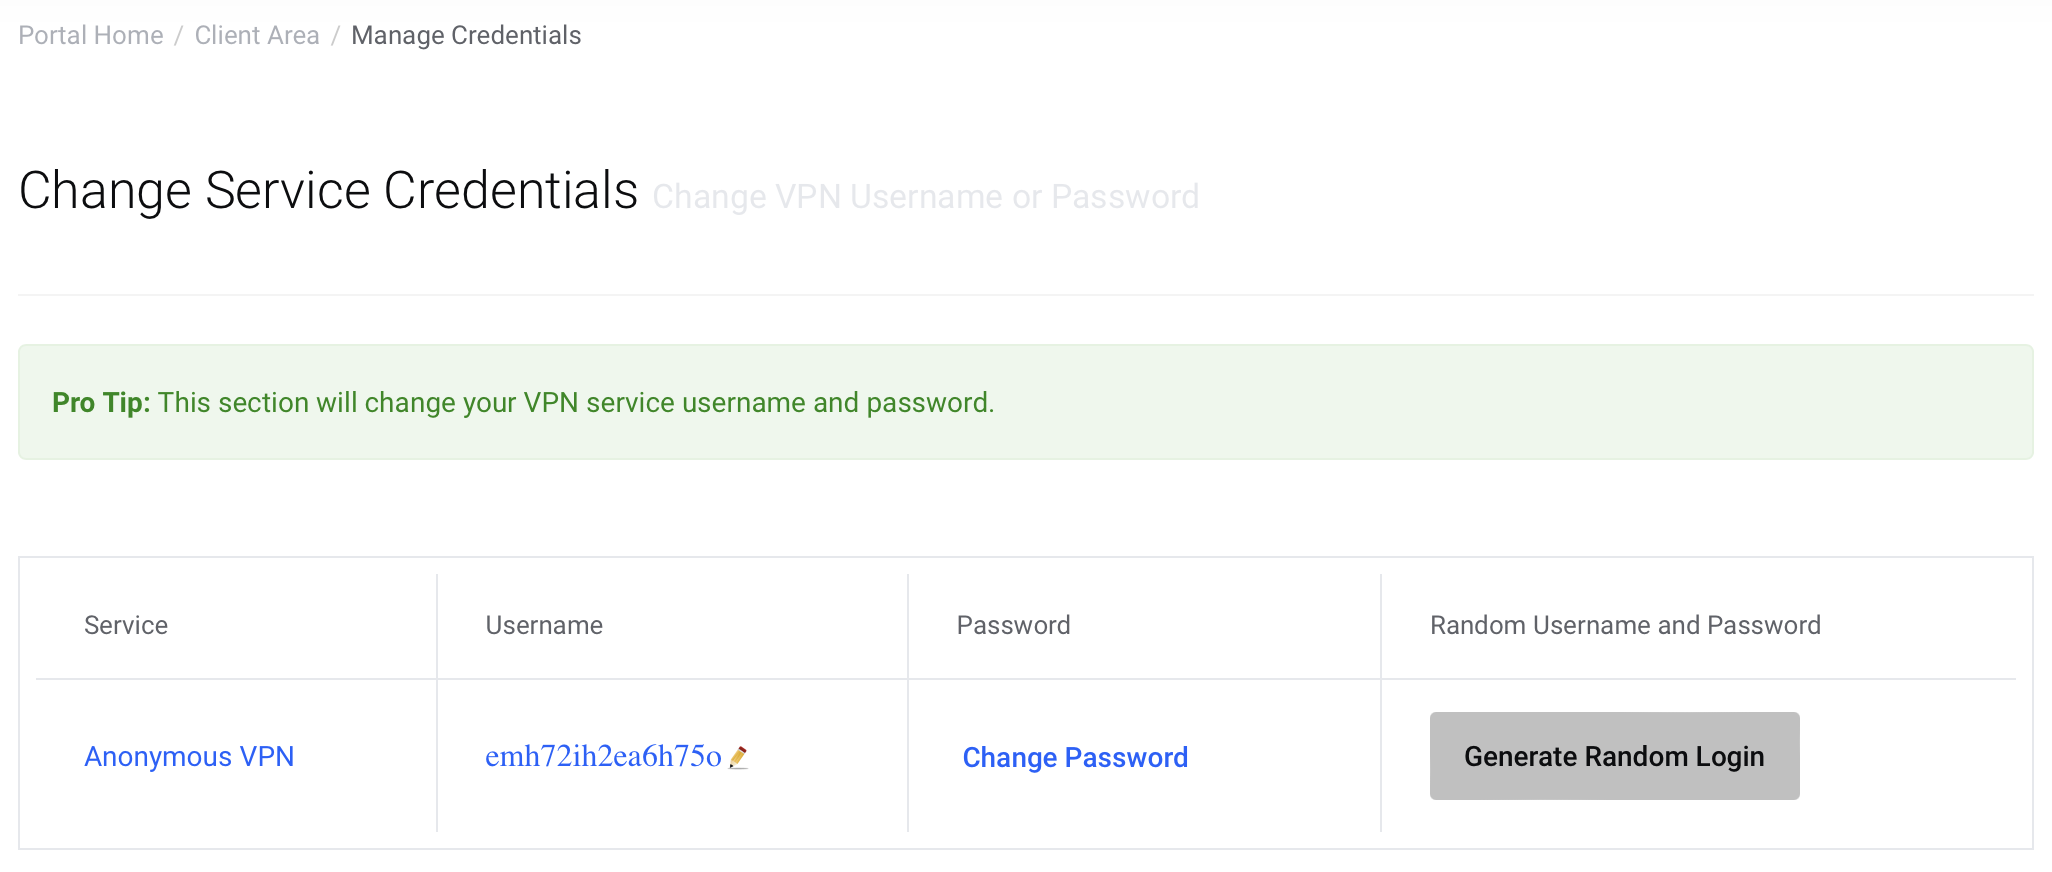
Hit Generate Random Login. After it's done, save the credentials. We'll need them soon.
Config Generator
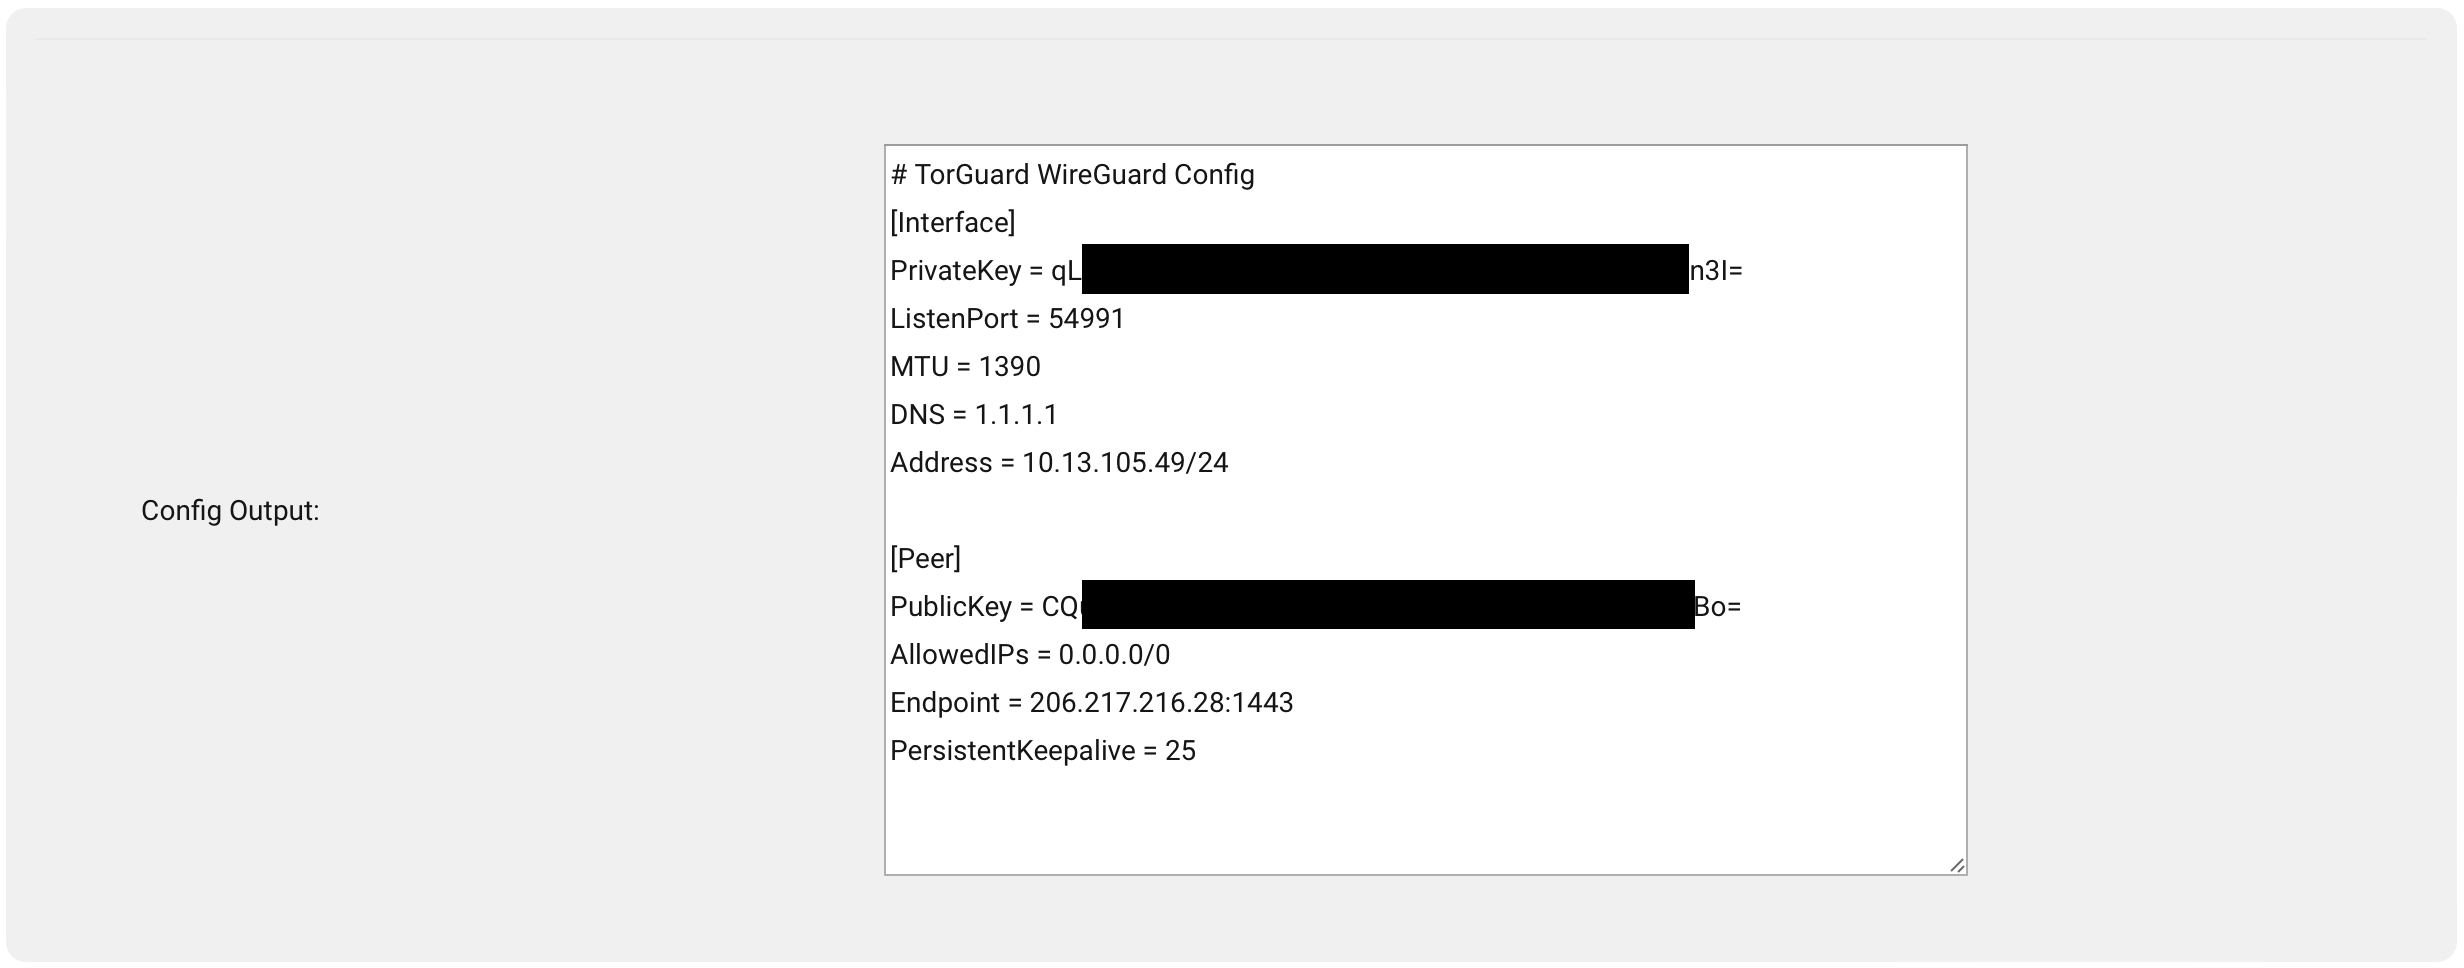
We'll generate a new WireGuard config on the Config Generator page. Fill in the details like shown below, use your own server preference.
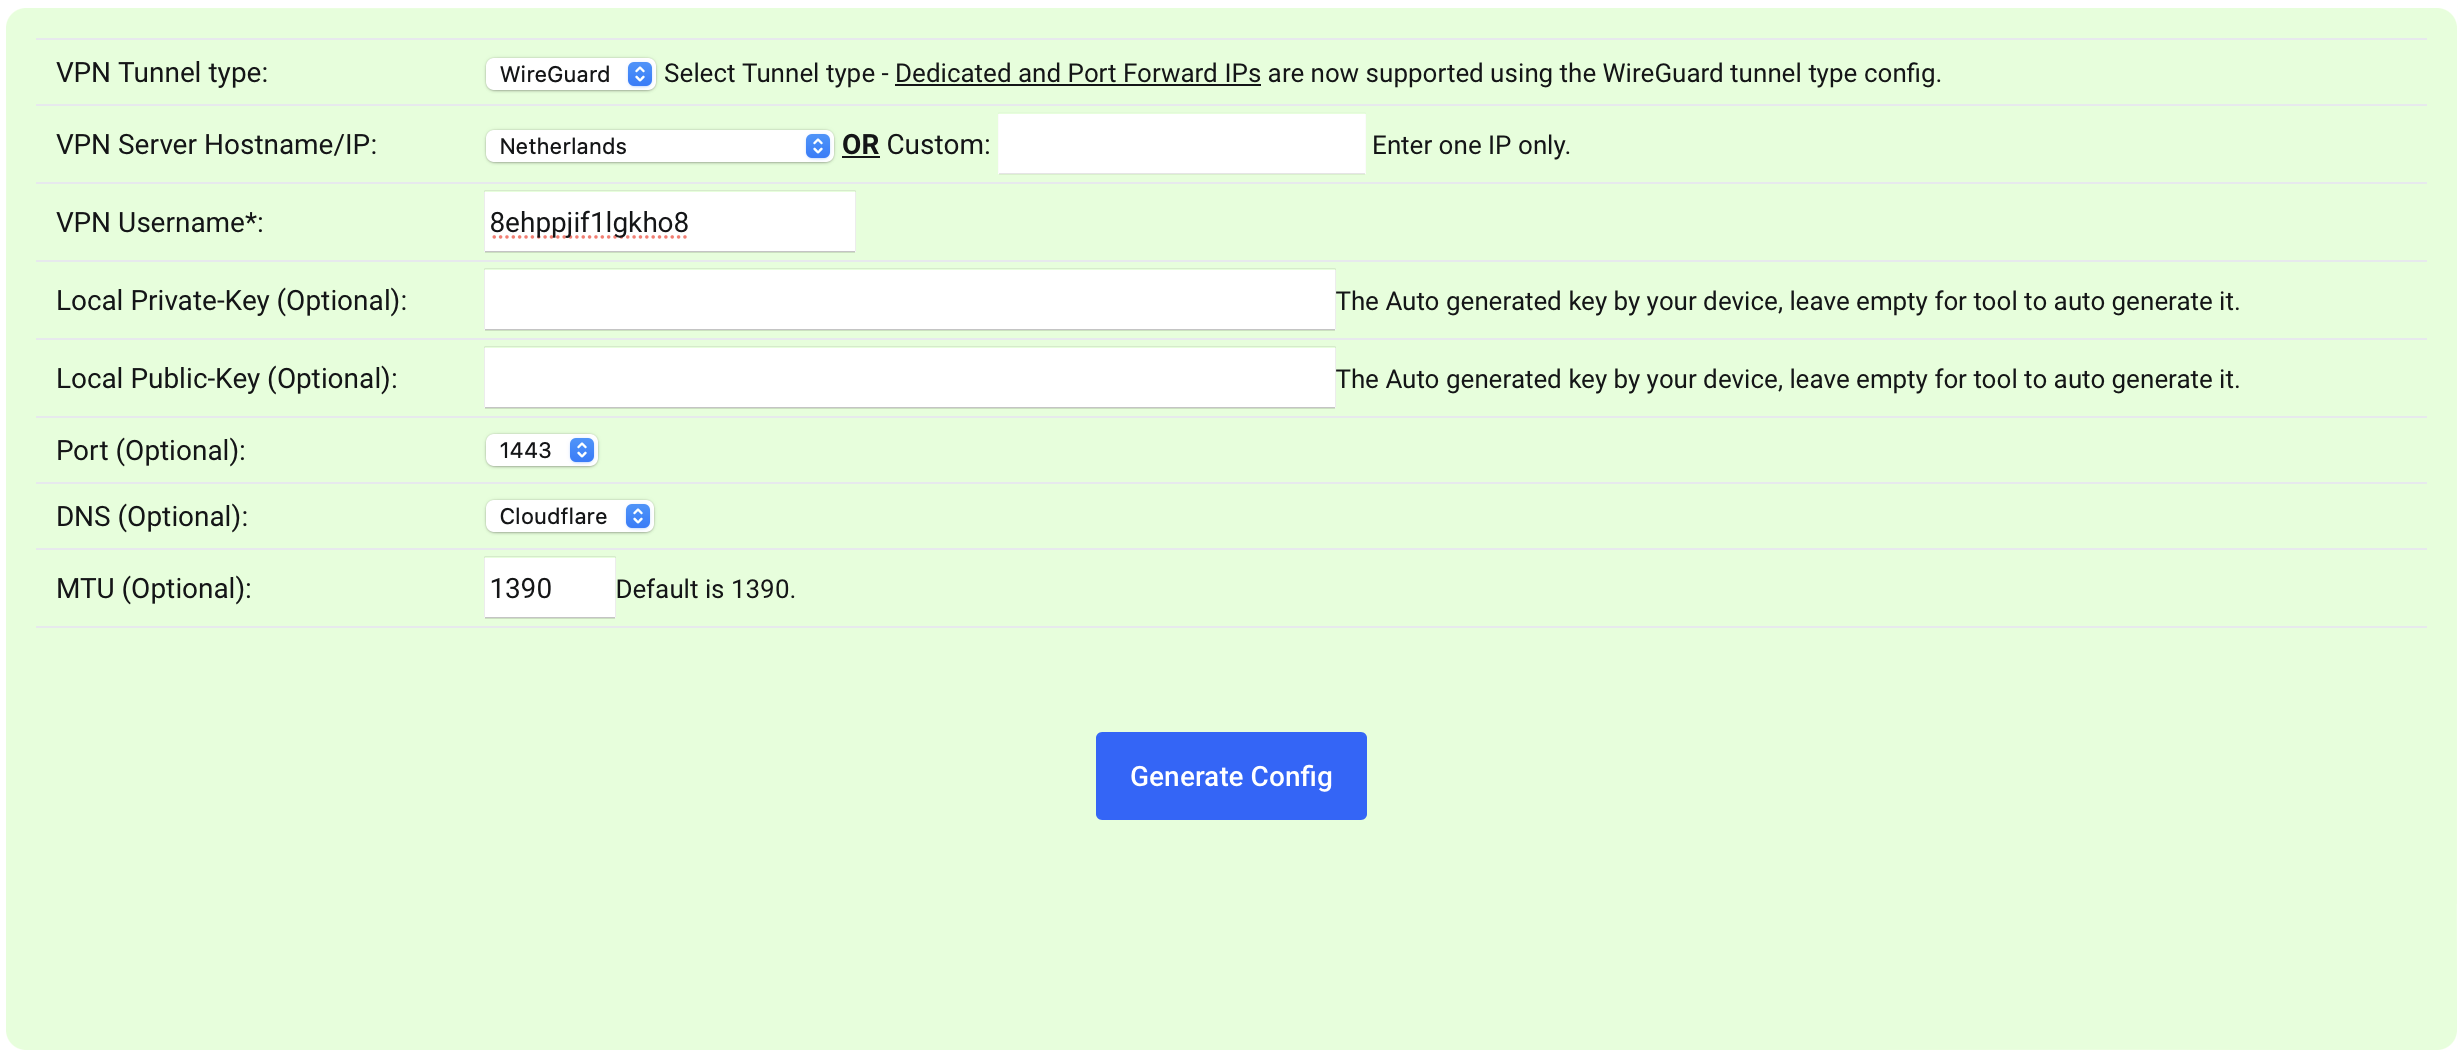
Hit Generate Config. You'll get your config as seen below.
Test WireGuard Config
You can now use your created conf file and add it to the VPN image per the instructions. When executing the image and all went well you'll see:
[INF] [2024-03-12 07:29:51] [VPN] Performing internet connectivity test...
[INF] [2024-03-12 07:29:51] [VPN] [IPV4] [PING: 25.167 ms] [Amsterdam, NH, The Netherlands] [UK-2 Limited] [206.217.216.28]
You can skip this step if you want, because later on we'll have to re-generate our conf file anyway. The ip we'll need later on is the WireGuard endpoint ip.
Port Forwarding
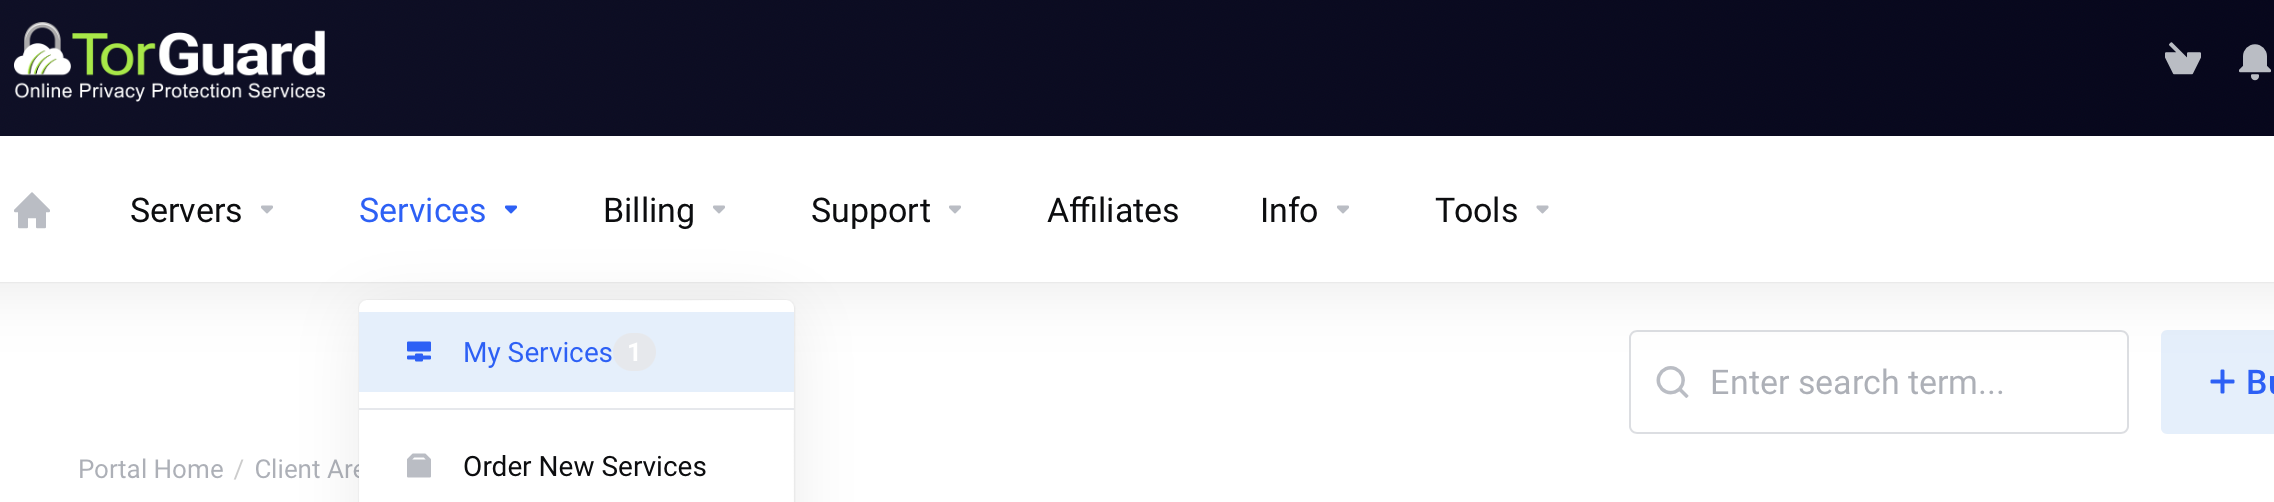
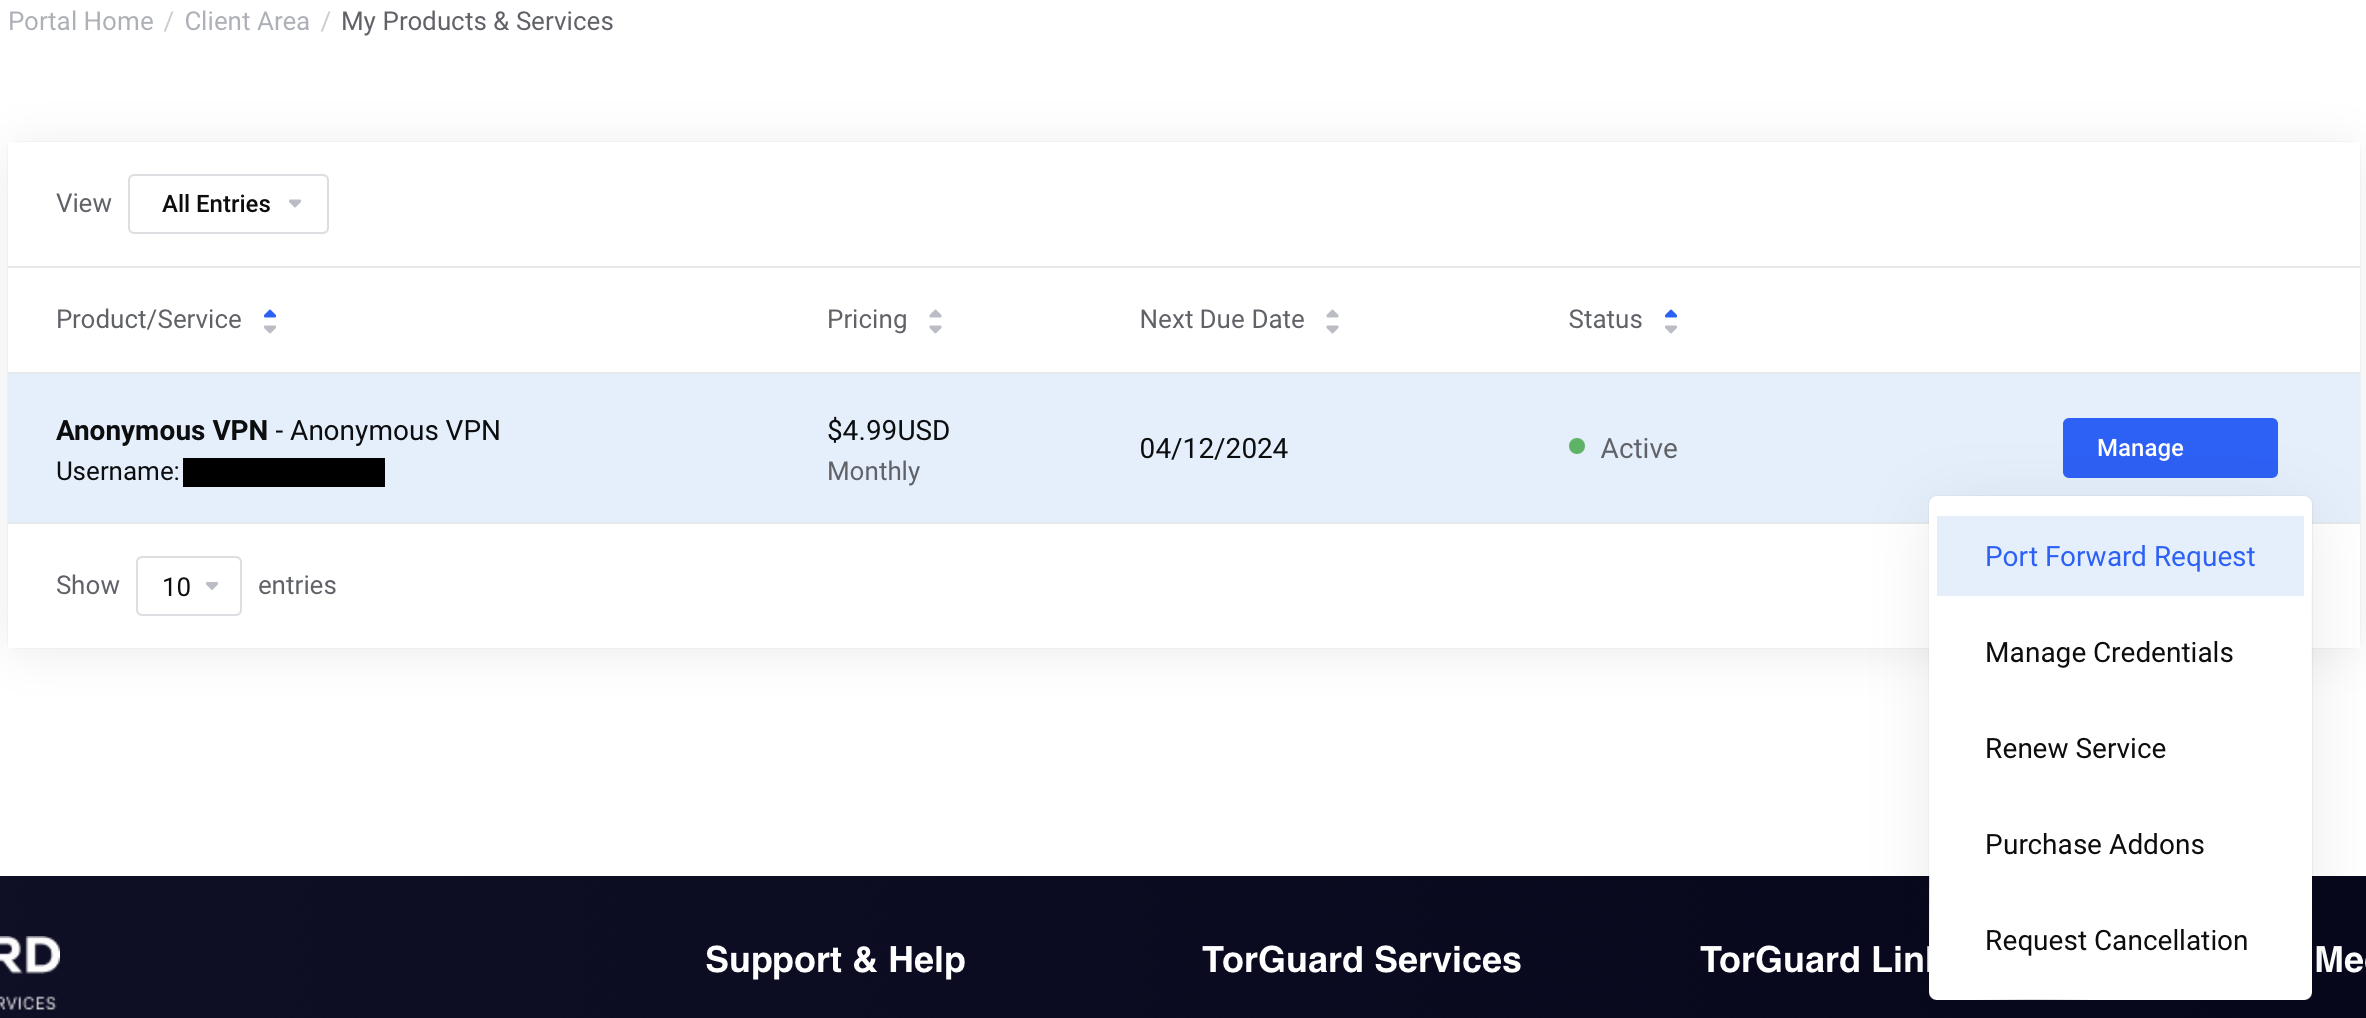
Next we'll be getting a forwarded port. Go to Services > My Services.
Then Manage > Port Forward Request.
You'll see the below page, fill in the form as shown. You can pick your own port of choice. The ip is the same as shown above in our test 206.217.216.28, usually also the same as our WireGuard endpoint.
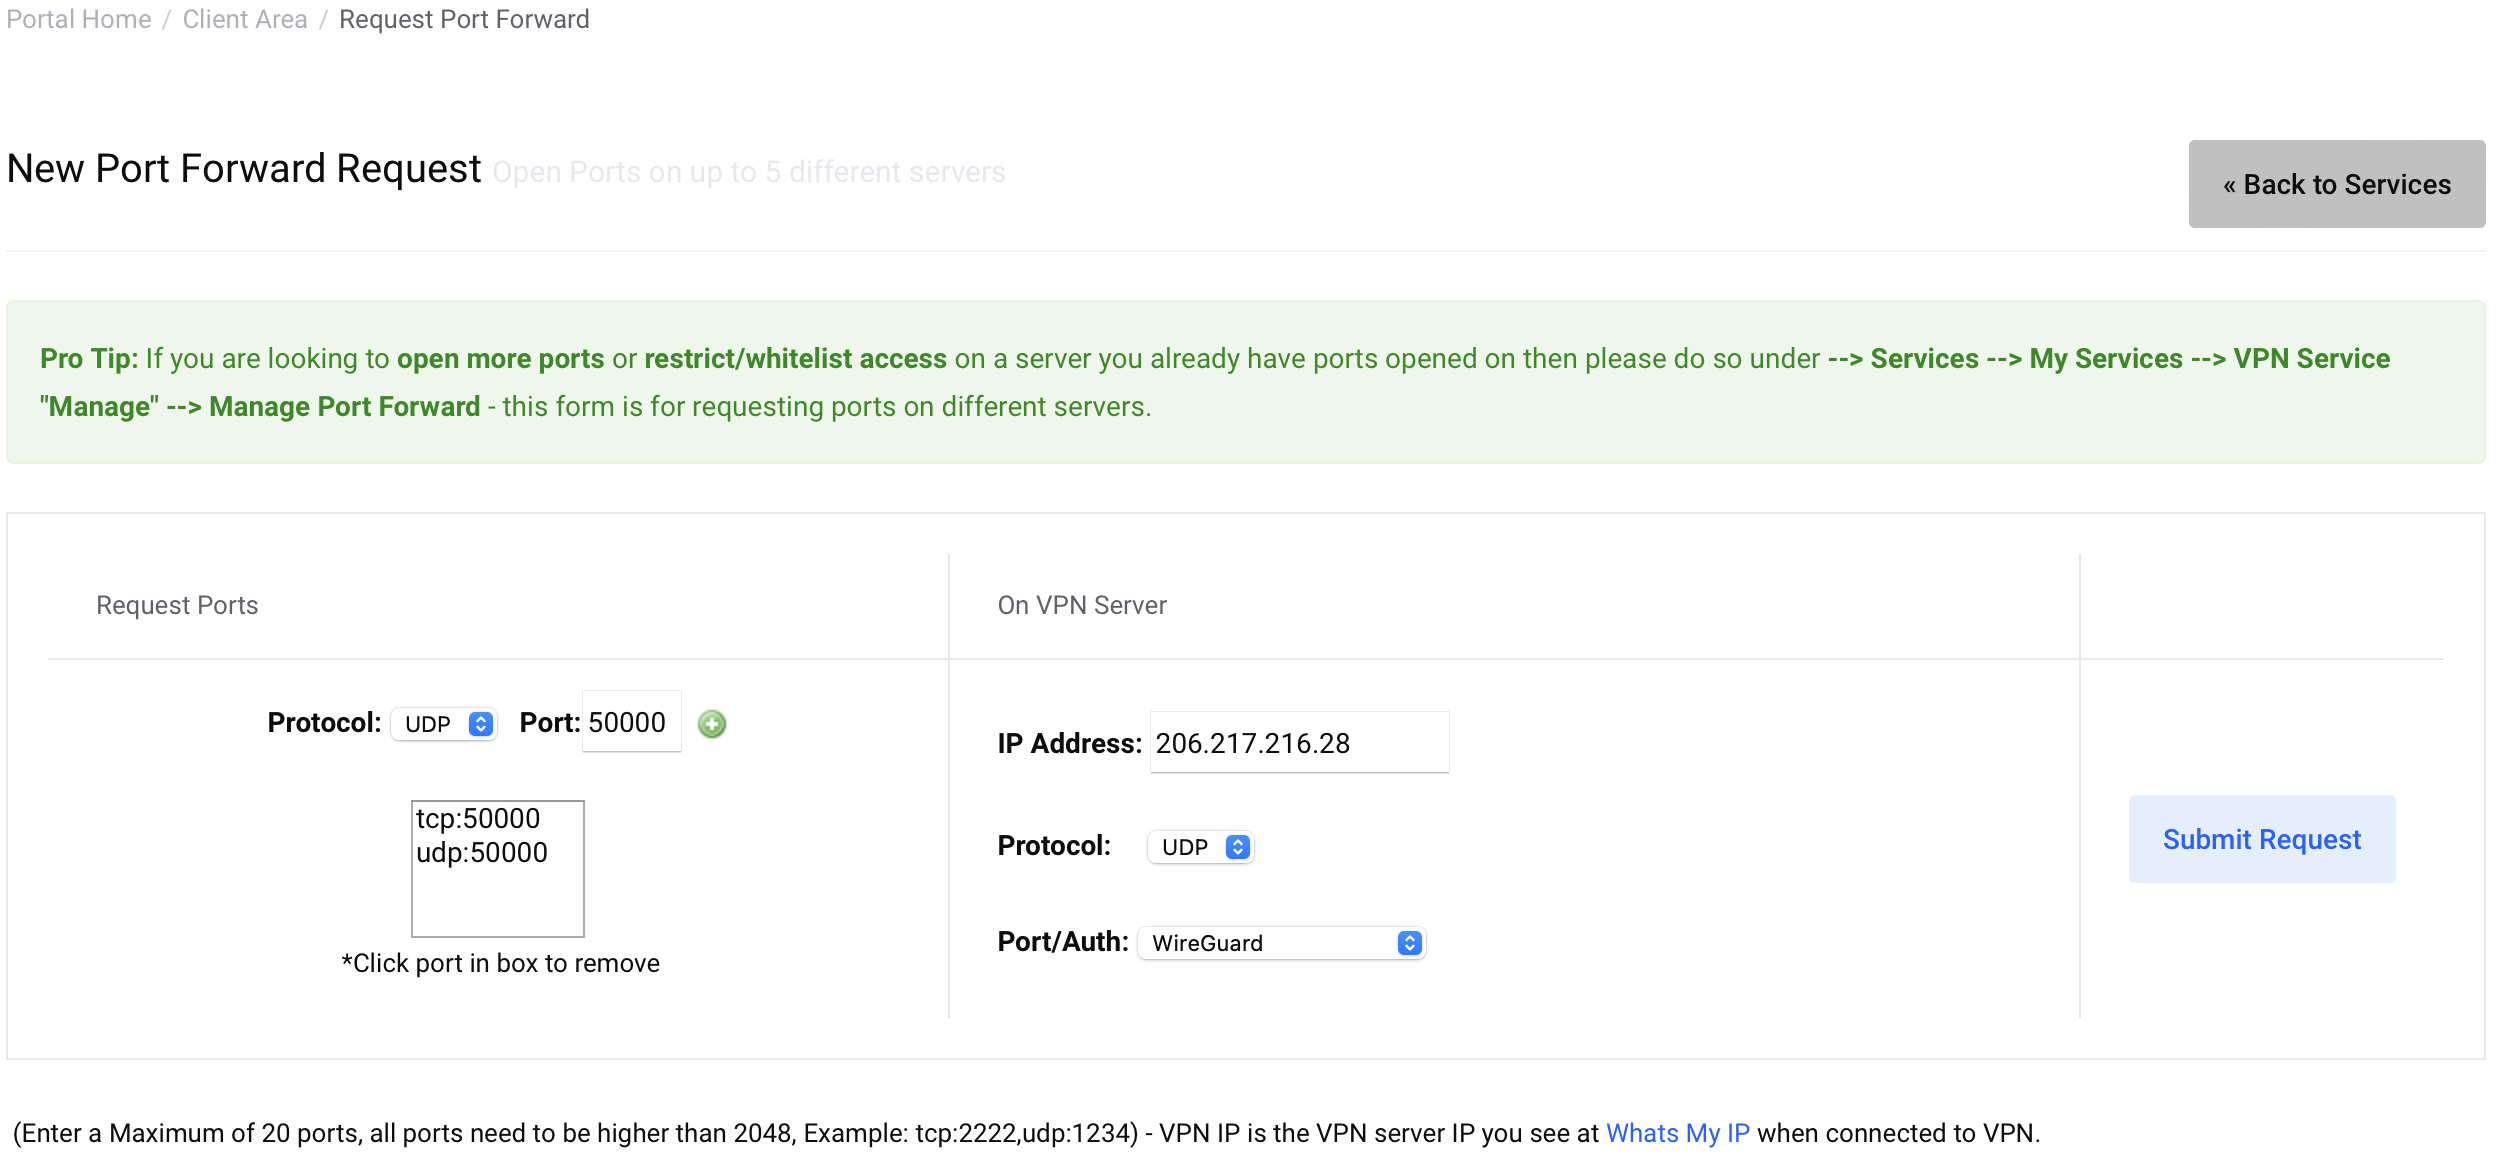
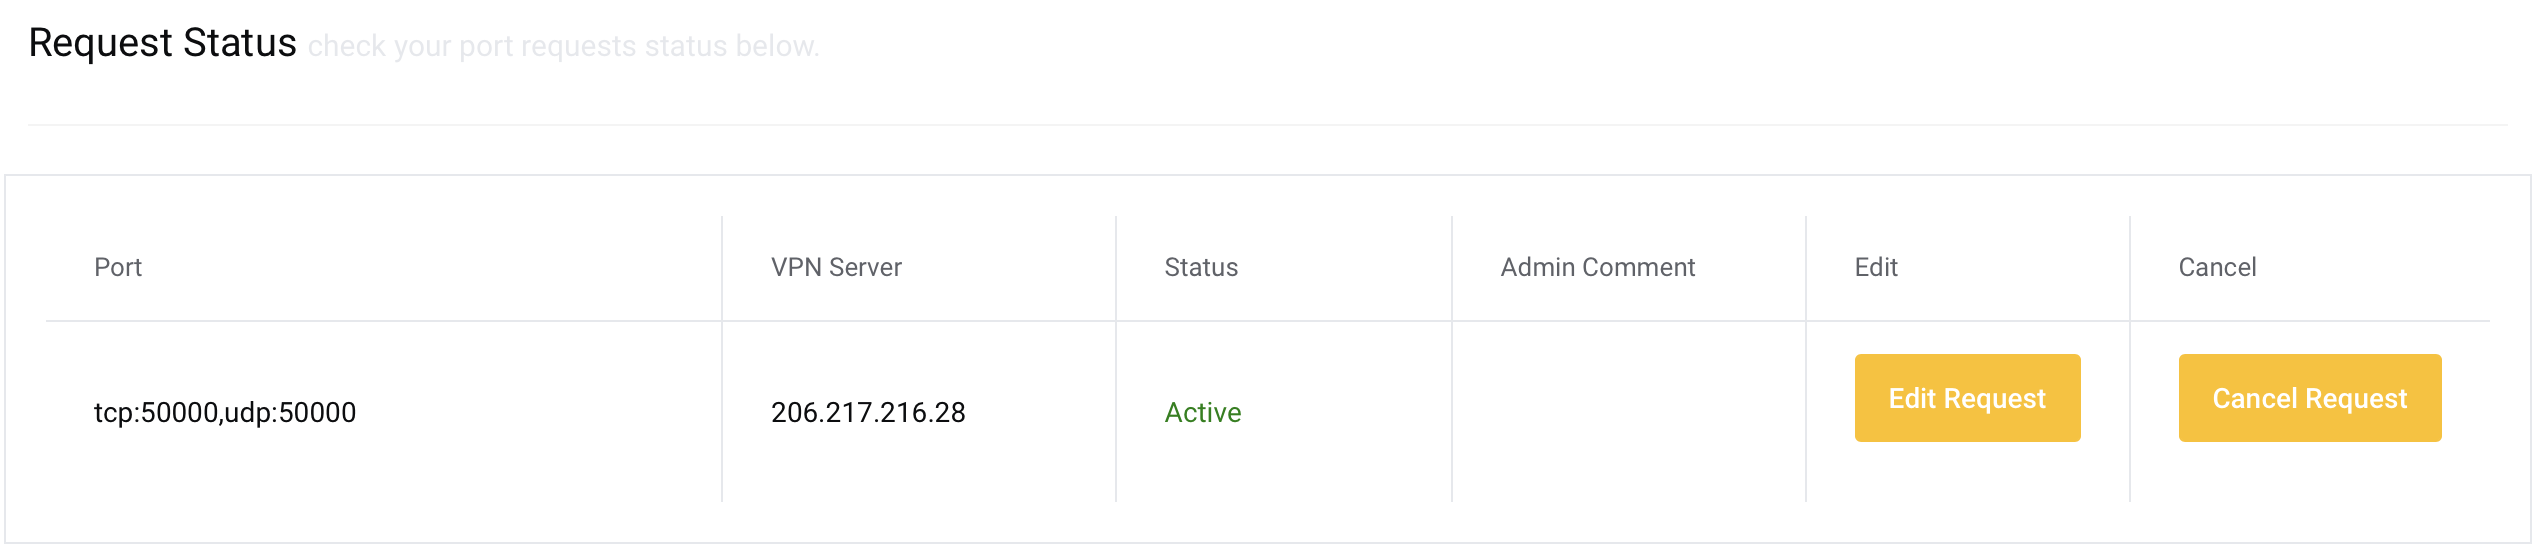
Hit Submit Request. You'll see the following output if you scroll down.
Re-Generate WireGuard Config
After having requested the port forward, we'll have to re-generate our config. Go to the Config Generator and make sure it's set like below.

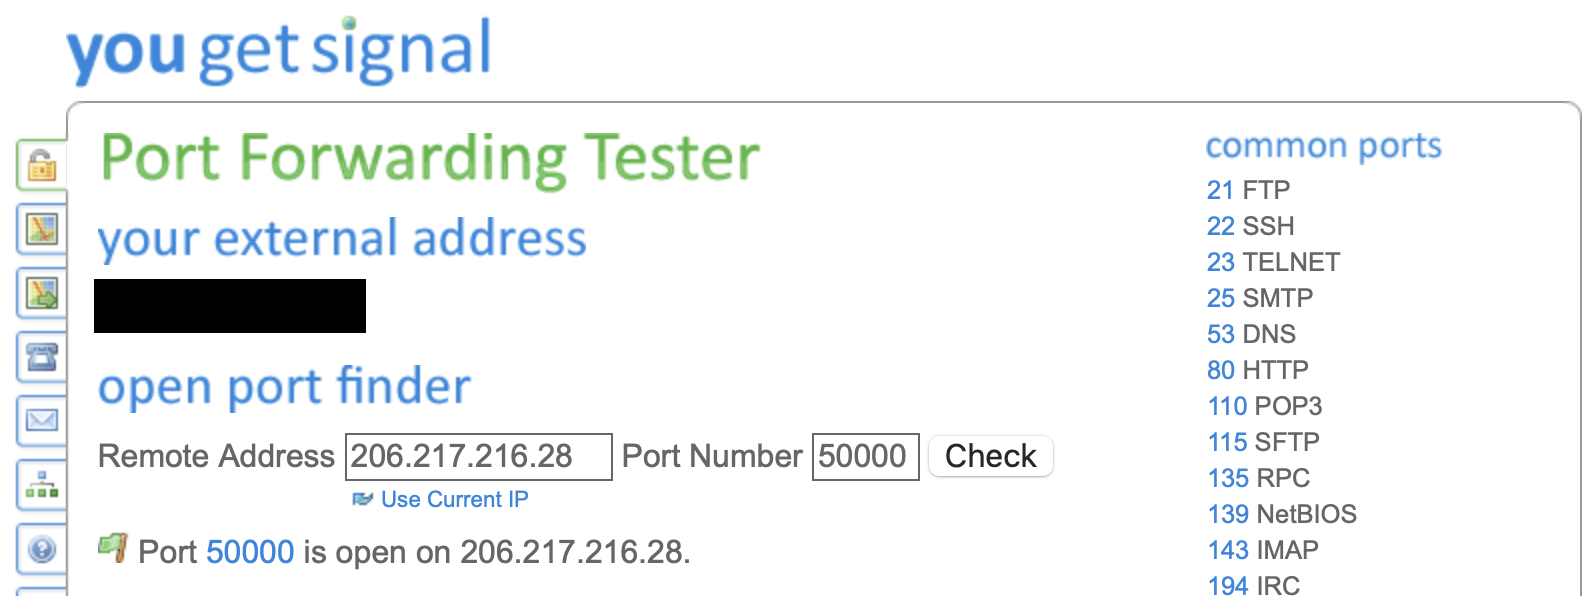
Hit Generate Config. Start the VPN image with the updated conf file and do a port check on YouGetSignal. You'll see that our port is open and ready to receive traffic.